Hello, I’m Shane with Reliance. While many customers typically book in-home installation
and set up with an expert Reliance technician like me, we realize that that’s not always possible. So
I’m here to take you step by step through the setup and operation of your new thermostat.
The Honeywell Home T4 Pro Thermostat by Residio uses tried and true technology
that’s incredibly easy to use. This full-featured programmable thermostat is easier to use than most
and includes options for programmable and non-programmable operation. How about we begin
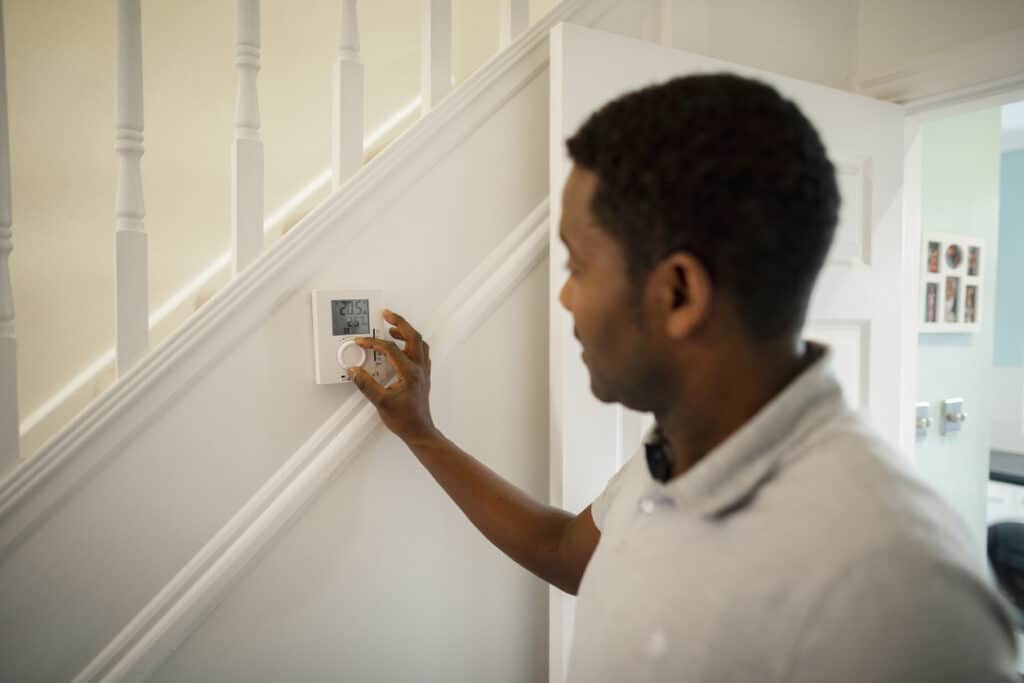
with the setup. As a first step, let’s look at the thermostat itself. You’ll use the plus minus
and select buttons on the front to set up your new thermostat. We’ll begin by powering up the
thermostat and setting the year. Press the plus or minus buttons to navigate to the correct year
then press select to save the setting. Next, press the plus or minus button again to navigate to the
current month before pressing select to save your choice. Now use the plus or minus buttons again to
select the correct day of the week, saving the setting by pressing the select button again.
The T4 Pro offers both a 12 hour and 24-hour clock format. Toggle between the two options
with the plus or minus buttons then save your choice by pressing select.
Now press plus or minus again to set the correct time. While doing so, keep this useful
tip in mind – you can quickly move through time settings by pressing and holding either button.
Save the correct time by pressing select to go back to the home screen.
Now let’s choose your temperature settings. Your new T4 pro thermostat has an advanced menu
that allows you to adjust a range of parameters including schedule and temperature settings for
the three different modes that this thermostat offers – heat, cool and off. To cycle through
these choices, press the mode button. Easy right? Okay, let’s get programming. The program setting
in the advanced menu allows you to set the desired temperatures that your T4 pro thermostat will
automatically adjust itself to be on different days and times of the week. You can set up to
four different scheduled temperature settings each day and define different settings for weekdays and
weekends. To turn the programming function on or off, first press the menu button once, then press
the plus or minus buttons to cycle through the advanced menu until you reach the “prog” option.
Press the select button to toggle programming on or off and you’ll do this anytime you want
to update or reset the scheduled program so be sure to make special note of this step as you work
through the prog menu setting temperatures for different days and time during the week. You’ll
see various commands on the screen. These include “wake” which refers to the time that you wake up,
“away” which refers to the time you expect to leave your house, “home” which refers to the
time that you expect to return and finally “sleep” which refers to the time you generally go to bed.
Press the select button to choose the desired time period. You’ll first be asked to set the
heating schedule. Press the plus or minus buttons to navigate to the desired time
then press select button to save your choice. Next, press the plus or minus buttons again to
navigate to the desired temperature for that specific time period then press the select
button to save. Next you’ll be asked to set the cooling schedule. Follow the same steps
to set each program setting and schedule for those times when the system is in cooling mode
or if you don’t have an air conditioner simply skip this step. While you’re in the process
of setting temperature schedules for days and times of the week, it’s worth noting that not
all programmable settings need to be active all of the time. If there are certain programmable
settings that you want turned off, say afternoons on days when you’ll be out of the house, simply
press the select button to choose those particular days and time periods. Next, press the plus button
to toggle back and forth between on and off. Finally, press the select button again to save.
When you’ve completed all the changes you want to make, press the home button. Your changes will be
saved and your display will return to the home screen. Here’s another example of a change you
might want to make to your preset programming. At times, you may want to override a particular
temperature setting to make things warmer or cooler than what’s been scheduled. To do this,
simply press the plus or minus button from the home screen to adjust to your desired temperature.
In this case, your T4 pro thermostat will hold this new setting until the next program time
period comes up. A hold can also be overridden by manually adjusting the temperature setting. The
hold button allows you to toggle between temporary hold and permanent hold options. Press the cancel
button to cancel all holes and revert to previous settings. In addition to heating and cooling,
the T4 pro offers two fan modes. When you use the fan auto setting, your fan will only run when your
heating or cooling system is running. In contrast, fan on means your fan will run continuously.
Toggle between these two options by pressing the fan button. With that,
you’ve completed the setup and orientation of your new Honeywell Home T4 Pro Thermostat by Residio,
one of the easiest to use models around today. And don’t forget if you have any
trouble with installing, setting up, or using your new T4 Pro, Call on Reliance.