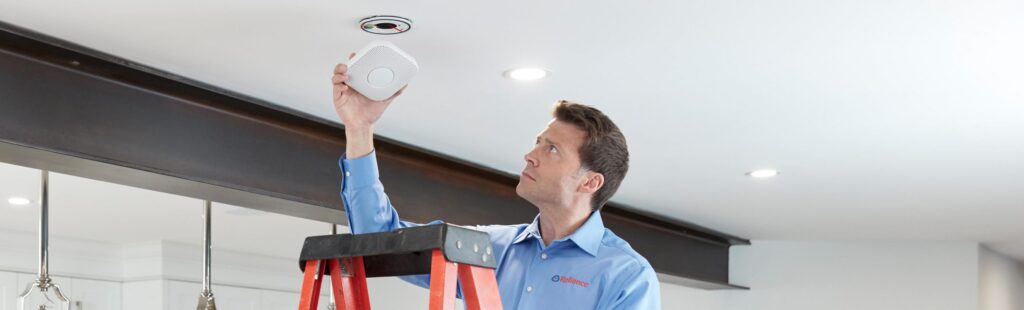
Hello! I’m Shane with Reliance.
While many customers typically book in-home installation and setup with
an expert Reliance technician like me, we realize that that’s not always possible. So,
I’m here to take you step by step through the setup and operation of your new thermostat.
The new Google Nest 3rd Generation Learning Thermostat is a connected thermostat.
It gets its name from the way it learns the living patterns in your household, then automatically
optimizes your home’s heating and cooling, which can improve the efficiency of your HVAC equipment.
Want to control the temperature in your home with your phone? The Google Nest Learning Thermostat
can do that! Plus, you can monitor your energy usage over time, and more.
Alright, let’s get started!
If your Nest is new or it’s just been restored to factory settings,
the thermostat’s illuminated screen will prompt you to input your setup information.
Alternatively, if your Nest has already been set up, you can skip ahead in this video
where you will find steps to walk you through the thermostat’s numerous features and functionality.
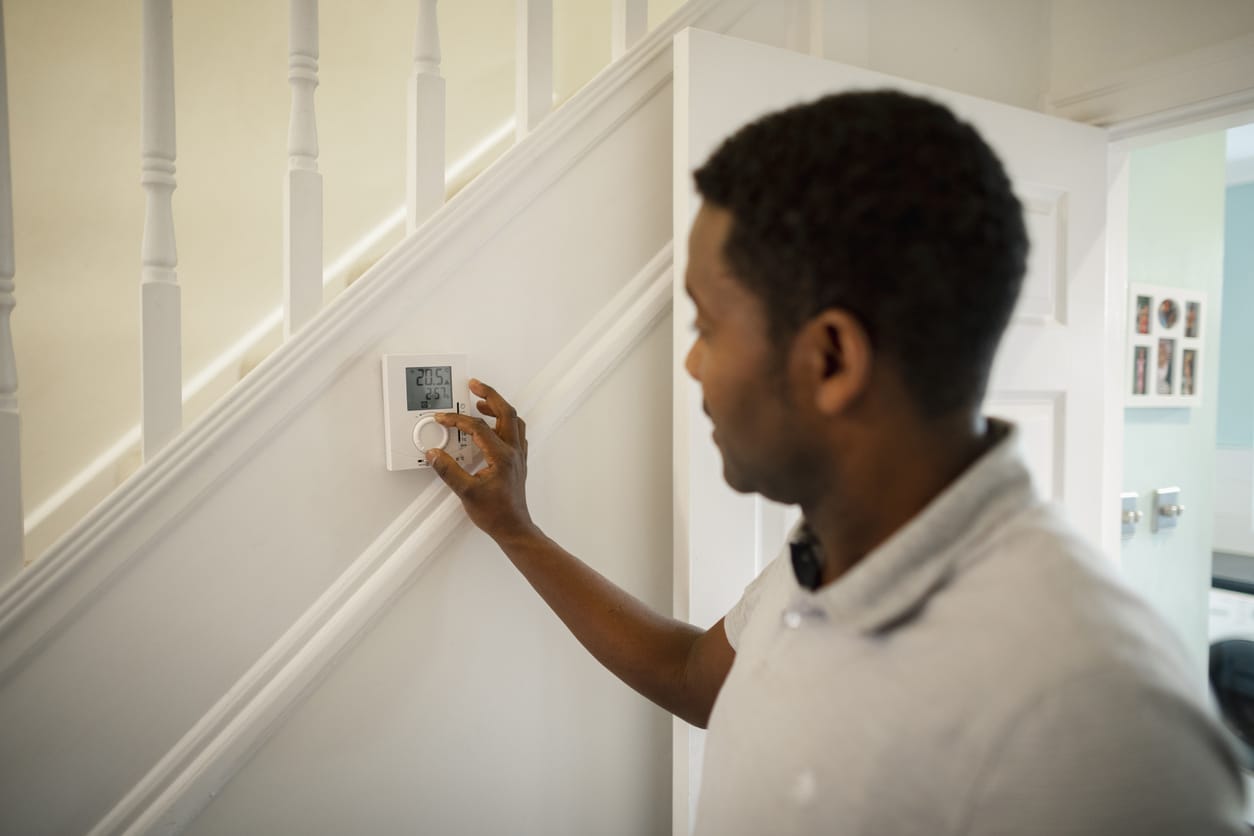
Let’s get you familiarized with the Nest device itself.
This easy-to-use thermostat is controlled using two different
motions that you make with your hands: By rotating the outer ring, you can
wake up the display, scroll through the Nest’s various menu options, and increase or decrease
the desired temperature of your home. Alternatively, tap or click the bottom
of the screen—almost like you’re using an Enter command on a computer—to access the main menu,
choose menu items, and select letters and numbers. Here’s a handy trick: You can toggle between
capital and lower-case letters by double-tapping your chosen letter.
To begin the setup, rotate the Nest’s outer ring to the Language option,
and choose either English or French by tapping the bottom of the screen.
At this point, be sure to have your Wi-Fi password handy, as the next step involves
connecting your Nest to the internet. Rotate the outer dial to the Internet option, press,
and enter your details when prompted. Just so you know, you don’t necessarily need an
active internet connection to operate your new thermostat. However, we do recommend that you do
so, in order to take full advantage of the Nest’s many smart features, including displaying local
weather conditions on the screen and controlling the thermostat from your phone while you’re away.
Plus, when you connect your Nest to Wi-Fi, it can download the latest
software updates automatically, which will keep it running in tip-top shape over time.
If you’d like to make use of Nest’s remote-control capabilities and other useful functionality,
now’s the time to download the free Google Home app to your smartphone.
Ok, let’s continue with the setup.
Next on the menu, the system will ask for your Location so it knows about the weather outside,
the type of building you’re in; single family, multi-family, apt/condo or business,
where the thermostat is located in your home,
and a few things about what kind of heating and cooling system you have.
Once complete, tap or click the bottom of the display to go back to setup.
Finally, rotate the outer ring to choose the Complete a Systems Test option. And with that,
you’ve completed the setup of your new Google Nest 3rd Generation Learning Thermostat.
Now, let’s move on to the features and functionality that make this
such a popular thermostat for homeowners around the world.
Let’s look at the module itself: You’ll see the current temperature
of your room displayed in a small number along one side of the thermostat display,
while the target temperature—also called the “setpoint” or “HEAT
SET TO temperature”—will be displayed in large numbers in the centre of the screen.
If the HEAT SET TO temperature is above the
current room temperature and your furnace or boiler is turned on,
then the screen will appear orange and it will trigger the delivery of heat to your home.
Alternatively, if your air conditioner is turned on and you rotate the Nest’s
outer ring counter-clockwise so that the setpoint drops below the current temperature,
the illuminated screen will go blue to indicate
that it’s in cooling mode. On the other hand, if you don’t have an air conditioner,
the screen background will remain dark when the setpoint drops below the current temperature.
On this same display, a Nest leaf icon will appear if you’ve
programmed the thermostat to alert you about energy-saving performance of your system.
To navigate through the various settings, rotate the outer ring, which will bring different menu
options to the top. Tap or click the bottom of the display to enter the Main Menu, and you’ll see
Time, Date, Weather, Humidity and Temperature Levels displayed in the centre with a checkmark
icon at the top of the screen and other icons around the perimeter.
Rotate the outer ring to bring different menu settings to the top and become clickable.
Navigate to the THERMOSTAT setting to select HEAT,
COOL, ECO or OFF settings, tapping or clicking the bottom of the display for your preferred
selection. You can now return to the main setting menu by tapping or clicking again.
Then, rotate to the clock icon to see your household’s energy usage patterns over time.
Note that your thermostat’s Energy History is a detailed summary that covers the last
10 days. You can view it in your thermostat or with the Nest app on a phone, tablet, or computer.
Next, to access one of the Nest’s most useful features, rotate the outer ring
to the SCHEDULE menu and tap or click the bottom of the display to configure your Nest
for scheduled temperature settings at any time of day throughout the week.
Scroll to a date and time using the outer ring, tap to choose NEW,
tap again, then scroll up or down to determine the desired temperature setting for that time.
Tap once more to choose that setting, then scroll to other dates and times to set more.
With the next icon, the gear-shaped SETTING option located at the top of the display,
tap and you’ll find LOCK or DO NOT LOCK options.
Choose the LOCK option to prevent other people in your household from adjusting your Nest settings.
The next main item in the SETTINGS menu—called ECO—allows your home’s
temperatures to rise or fall naturally within a pre-set margin from your target temperature,
which can help to reduce your energy consumption levels while you’re away from home.
To set your ECO TEMPERATURE threshold, rotate the outer ring,
tap to select your preferred temperature threshold, then tap or click DONE.
Next, rotate the outer ring again to go to HOME/AWAY ASSIST,
which allows you to activate or deactivate ECO mode.
Now, rotate the outer ring to the NEST SENSE option, where you can access
several smart functions: When you activate AUTO-SCHEDULING,
your Nest will learn the manual temperature settings you’ve used in the past and create an
automatic temperature schedule for your home. The TIME-TO-TEMPERATURE function provides
an estimate of the amount of time it will take for a change in temperature
to be reached after you’ve dialled it in. Activate the SUNBLOCK feature to prevent your Nest
from being thrown off by sunshine hitting it during certain times of the day.
Next, we move to the display’s BRIGHTNESS control: Choose Low,
Medium, High or Auto by rotating the outer ring until you’ve got your preferred setting,
then tap or click the bottom of the display to select.
The DISPLAY setting comes next. This is where you’re able to customize the
use and appearance of your Nest display. You can choose to activate or deactivate
the FARSIGHT option, which wakes up and displays information on the main screen when anyone gets
close to or touches the thermostat. If you don’t want the thermostat to wake up automatically,
simply deactivate this option. Rotate the outer ring more to choose
from TARGET TEMPERATURE, CURRENT TEMPERATURE, ANALOG CLOCK or DIGITAL CLOCK options.
Next, adjust the WEATHER setting to have information about local weather
conditions appear on the main screen. But remember that you’ll need to have
set up your Wi-Fi connection to be able to display weather on your Nest device.
Move to the next SETTING icon to turn your Nest Thermostat’s CLICK sound ON or OFF.
Next, rotate the outer ring along the SETTING menu to choose the format of the temperature
display—whether Fahrenheit or Celsius. As you scroll further, you’ll see additional features,
including your heating and cooling system details, factory RESET, and NEST PRO menu
item which is only accessible to professional installers like our Reliance technicians,
as well as the TECHNICAL INFO item which displays various features of your Nest system.
And with that, you’ve completed the setup and orientation of your new Google Nest
3rd Generation Learning Thermostat!
Don’t forget, If you have any questions about configuring or using your connected thermostat,
just Call on Reliance™.